This project came from a challenge I was given by a fan of InventGeek. Basically they chose the most common place and mundane item they could think of and challenged me to improve it in a practical way. So how do you improve a bread box? Well for starters I how about making it more useful than just a nice place to put your bread and we are not talking about putting a computer in it. After modding out our bread box I think we have come up with something terribly practical. Worst case then we have come up with a really clever science fair project for you your kid to do.
Overview:
So the goal of this project is to build a bread box that has built in UV system to repress the ability of mold colonies to form. After some research on the web I found that high grade UV bulbs could be purchased inexpensively that are used in food and medical sanitization. So with about 50-60 USD depending on your UV source we can really get this project rolling.

The UV Source:
We picked up a water purifier system off eBay that uses ultra violet lights. We removed the tube and placed it in a standard light housing for our project. Total cost was about 15.00 USD
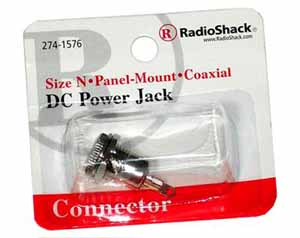
The Power Jack:
We picked up this power jack at our local electronics shop because it is nice heavy metal. Make sure you match the plugs and jacks to what your power supply will require. 5.00 USD
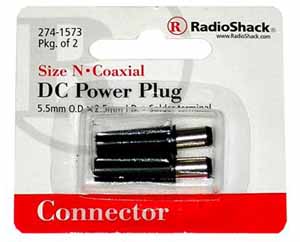
Power Plugs:
We picked up at our local electronics store some power plugs with solderable terminals on it so we could make our own cable extender. Perhaps I need to see about having them sponsor us so I don’t feel so bad about there logo on these extremely overpriced parts. 5.00 USD
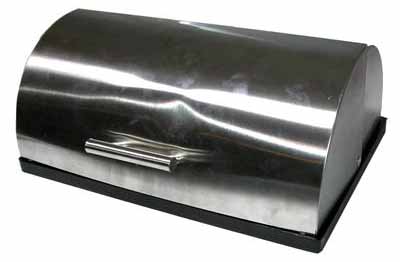
The Bread Box:
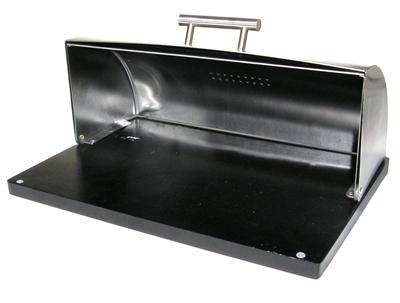
We chose this bread box because it was a simple brushed steel box with reflective surfaces. It also has some holes drilled in the back of it that are great at dumping off any heat that could build up when the lamp is in use. Cost 20.00 USD
The Light Controler:
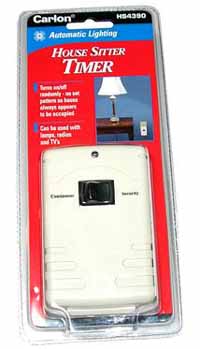
So we don’t want the UV light on all the time for a few reasons. The bulbs life span, heat buildup and UV light can have a impact on the nutritional value of the foods that it shines on. We found this little unit for about 15.00 USD online. It will randomly turn on and off the item plugged into it at 7 to 30 minute intervals for 7 to 30 minute lengths of time.
The Baking Rack:
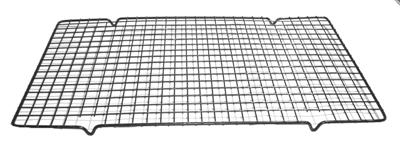
We picked up this baking rack at our local super box mart. We used this black one only because it was easily photographed. We recommend using a chrome rack if you can get your hands on one. Cost 3.00 USD
Step one is to take our bread box and figure out where we want to place our power source. We want to try to keep this looking visually pleasing. Another thing to think about is where the heat sources will be. The bulb and the inverters will put out some heat, but ultimately the brick is the highest heat producer.
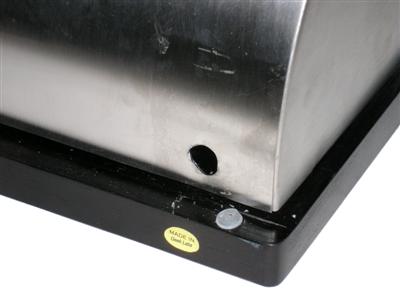
In the back of this breadbox we drilled a 9/16ths hole so that we could install a internal extension plug to the bulb.
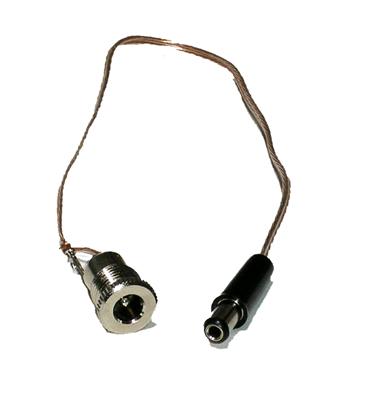
Next up is to take our male and female plug ends and solder an 8 inch wire between then. Using a small amount of heat shrink tubing make sure the ends of the plug jack are insulated well.
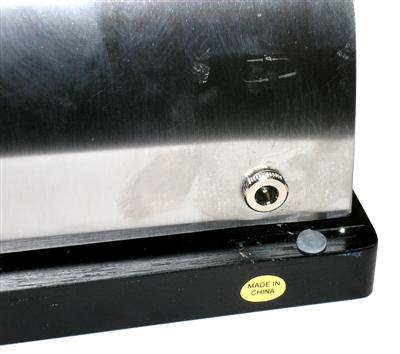
Finally install the plug extender in the back of the box. Use the small nut that it came with to secure firmly the jack in the back.
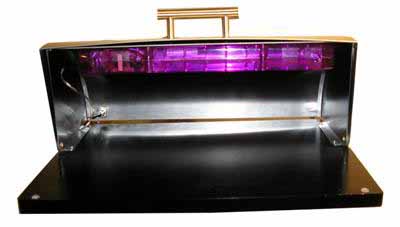
The next step is to mount the UV source in the bread box. Some things we took into account here is the placement of the light source. We want the lighting in the box to be as even as possible. We mounted ours at the top of the breadbox using some hot glue to get a good strong instant bond, and then used silicone to permanently mount it.
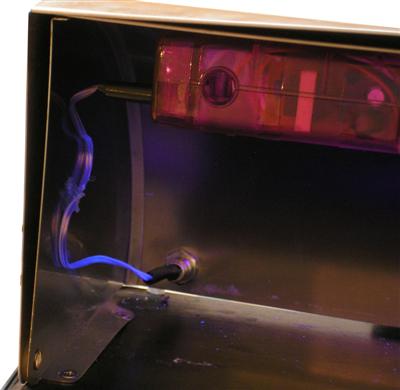
The next step is to connect the power source to the light. This is a simple process of just plugging it in. We used some hot glue to secure the wire on the side of the bread box.
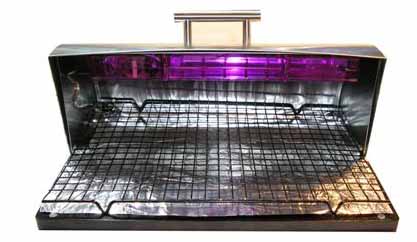
The next step is to line the bottom of the bread box with tinfoil or even possibly a mirror and depending on the type of breadbox you are using any other place that may need to be reflective inside the breadbox. Using some spray on glue and spraying on the glue to the tin foil its self it’s easy to install in the box. Additionally we took a normal baking rack and cut the ends off of it so that it would fit in the bread box. This allows for the UV to get under the bread in the box. We secured it in place with a couple good blobs of hot glue.
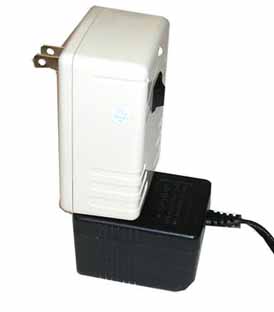
To prevent the buildup of heat inside the breadbox and thus accelerate the molds growth we will be using our home security outlet. This will randomly turn on and off the light system in 7 to 35 minute increments. To install it just plug the power supply brick in.
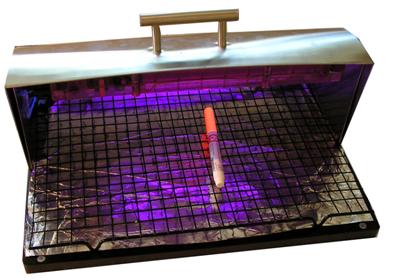
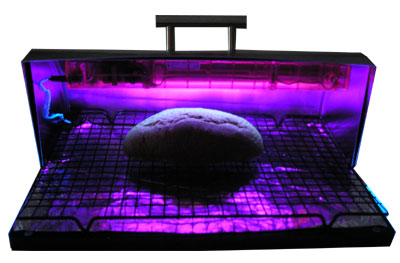
So here is a quick test to show the rig is working well for us. we threw the marker in it because the cap phosphorescing in it.
Summary / End Results:
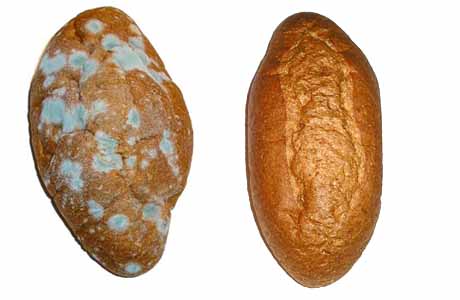
We put our bread box to a test. Not just once, but 3 times. We took 2 identical breadboxes, one modified and one unmodified. We used rolls from the same bag for each test (new bags of rolls for each test) and we picked up some extra bags at our local bakery. Each time we got the same results. The roll left in the bag in the unmodified bread box molded up in about 2 weeks. The roll in the UV box never molded up the same way and eventually dried out. Now this does not mean that the bread box will prevent the mold from growing. In fact molds can grow inside the roll quite happily. The molds surfaces are just for reproduction. But we found that it gave us a regular and predictable increase of self life of the foods we put in this of about 50%.
Other applications for this concept:
This is a great proof of concept idea. Ultraviolet lights are really good at sterilizing different environments. Possible in your fridge or in your dish washer for instance. Or even water proofing one and placing it in the door to your washing machine.
Update:
We have received some great feedback from our users on the breadbox project. One item that we feel needs some clarification on this project is some perhaps less than common sense safety practices when working with any UV source. Using any type of UV bulb designed for sanitization means UVC output and ozone output in small amounts. Usually less than that of an ionic breeze for example. Normal backlights ( filtered or LED) produce only UVA and UVB spectrum. These are the types of ultraviolet light that we ware sunscreen for. UVC how ever is really nasty stuff. You have 2 options to make the rig safer. Install a kill switch so when its opened even a crack it turns off the light. Or use a non medical UV source. Even UVA will kill molds and bacteria, but is less effective than its higher energy counterparts. The UVC bulb we used from a water clarifier has a protective black PVC coating on it to protect the hot bulb from direct content with the water. This filters out much of the UVC light making them safer in some instances to work with.


I was thinking about how quickly my homemade bread gets moldy if I keep it enclosed and how quickly it dries out (but not moldy) if I leave it out (I live in Phoenix where humidity is usually very low, unless your house has an evap cooler or a humidifier), Then I decided to google uv light breadbox and found your blog. I even own the same breadbox you show. I would add these items: instead of random lighting, a timer switch that turns on every time the breadbox is closed. The mold spore exposure occurs when the air in the box is exchanged for room air. Humidity control, where the a rotating vent either opens to a tray of dessicant (to reduce humidity) or to a tray with a sponge soaked in hydrogen peroxide solution (or silver chloride; both anti-fungal and relative scent-free). Finding the optimum humidity setting for keeping bread fresh would be an interesting experiment.
Where can I buy one?
I’ve started making sourdough bread for health and taste reasons. Storage of the loaves is a challenge. They are best if stored at room temperature in a semihumid environment, but that is also great for mold growth. I know that UV lamps have been used to great advantage in water sterilization, and expected similar results if I installed one in a bread box. Your results confirmed my expectations. My approach will be to build a rustic, wood bread box. It will have a tambour door like a roll-top desk. The inside surface will be mirrored to allow the light to reflect throughout the interior. (This means I need narrow strips of mirror on the underside of the door to allow it to slide.) I’ll have an interlock so the light goes off when the door is opened. I’ll mount the lamp to a heat sink to reduce thermal effects, and i’ll install both a humidity indicator and thermometer. I like your idea of using a wire rack to facilitate UV light reflection on the underside of the loaves. I might install a drawer at the base to hold my bamboo bread slicing guide. (Yes! I will definitely do that!) As to choice of wood for my box, I’ll use a hardwood to minimize warping. I’m thinking oak is best. It is not especially prone to warpage, sort of moisture resistant, has antifungal compounds in it, and a pleasant aroma.